

How to install electrical systems in prefab steel container homes?
Dec 08, 2025
Leave a message
As a provider of Prefab Steel Container Homes, I've witnessed firsthand the growing popularity of these versatile and cost - effective housing solutions. One crucial aspect of making these container homes fully functional is the proper installation of electrical systems. In this blog, I'll guide you through the process of installing electrical systems in prefab steel container homes.
Planning the Electrical System
Before you start any electrical work, a well - thought - out plan is essential. First, you need to assess the electrical needs of the container home. Consider the appliances and devices that will be used regularly, such as refrigerators, air conditioners, lights, and electronics. Calculate the total wattage of all these items to determine the appropriate electrical load for your system.
Next, create a layout of the electrical outlets, switches, and lighting fixtures. Think about the functionality and convenience of each room. For example, in the kitchen, you'll need multiple outlets near the countertop for small appliances. In the living area, plan for enough lighting to create a comfortable atmosphere.
It's also important to comply with local electrical codes. These codes are in place to ensure the safety of the electrical system. Check with your local building department to obtain the necessary permits and understand the specific requirements for electrical installations in your area.
Selecting the Right Electrical Components
Once you have a plan in place, it's time to select the electrical components. Start with the electrical panel. The electrical panel is the heart of the electrical system, distributing power to different circuits in the home. Choose a panel with a sufficient amperage rating based on your calculated electrical load.
For wiring, use high - quality copper wires. Copper is a good conductor of electricity and is more durable than other materials. The gauge of the wire depends on the amperage of the circuit. Thicker wires are required for higher - amperage circuits.
When it comes to outlets and switches, opt for ones that are suitable for the environment. In a steel container home, you may need to consider moisture - resistant options, especially in areas like the bathroom and kitchen.
Preparing the Container for Electrical Installation
Before installing the electrical components, you need to prepare the container. First, clean the interior of the container to remove any dirt, debris, or sharp edges that could damage the wiring.
Mark the locations of the electrical outlets, switches, and lighting fixtures on the container walls. Use a stud finder to locate the metal studs in the container. These studs will provide a secure mounting point for the electrical boxes.
Drill holes in the container walls for the wiring. Make sure the holes are large enough to accommodate the wires without causing any damage. Use grommets to protect the wires from sharp edges around the holes.
Installing the Electrical Wiring
Start by running the main power cable from the electrical panel to the meter socket. This cable should be properly sized and installed in a conduit for protection.
Next, install the branch circuits. Run the wires from the electrical panel to the individual outlets, switches, and lighting fixtures. Use cable clamps to secure the wires to the metal studs at regular intervals.
When connecting the wires, make sure to follow the color - coding system. In most cases, black wires are used for hot connections, white wires for neutral connections, and green or bare copper wires for ground connections. Use wire nuts to secure the connections and wrap them with electrical tape for added safety.
Installing the Electrical Panel
Mount the electrical panel on a sturdy wall near the main power entry point. Make sure the panel is level and securely fastened. Connect the main power cable to the main breaker in the panel.
Install the individual breakers for each branch circuit. Each breaker should be rated for the amperage of the corresponding circuit. Label each breaker clearly to indicate which outlets, switches, or lighting fixtures it controls.
Installing Outlets, Switches, and Lighting Fixtures
Install the electrical boxes for the outlets, switches, and lighting fixtures in the pre - marked locations. Secure the boxes to the metal studs using screws.
Connect the wires to the outlets, switches, and lighting fixtures according to the manufacturer's instructions. Make sure the connections are tight and secure.
Install the faceplates on the outlets and switches. For lighting fixtures, hang them from the ceiling or mount them on the walls as per the design.
Testing the Electrical System
Once the installation is complete, it's time to test the electrical system. Turn on the main breaker in the electrical panel and check for any signs of electrical problems, such as tripped breakers or sparking.
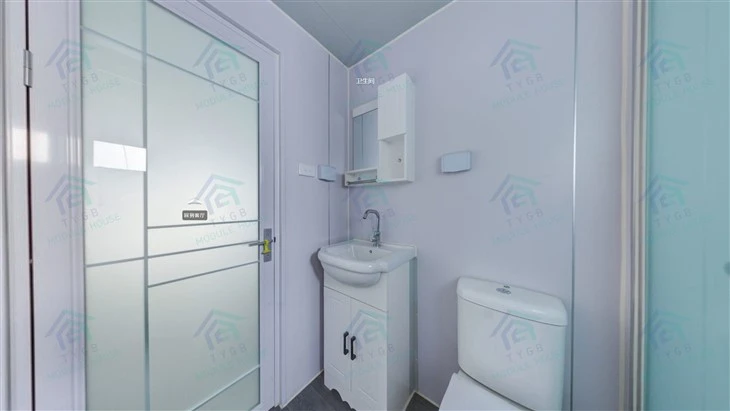

Test each outlet using a voltage tester to ensure that it is receiving power. Check the switches to make sure they are functioning properly and controlling the corresponding lighting fixtures.
Safety Considerations
Safety should always be the top priority when installing an electrical system. Wear appropriate safety gear, such as gloves and safety glasses, when working with electricity.
Make sure the power is turned off before working on any electrical components. Use a voltage tester to confirm that there is no power in the circuit before making any connections.
If you're not confident in your electrical skills, it's best to hire a licensed electrician. A professional electrician has the knowledge and experience to ensure that the electrical system is installed correctly and safely.
Benefits of a Well - Installed Electrical System in Prefab Steel Container Homes
A well - installed electrical system in a prefab steel container home offers several benefits. It provides a reliable source of power for all your appliances and devices, ensuring the comfort and convenience of living in the home.
It also enhances the safety of the home. A properly installed electrical system reduces the risk of electrical fires and other hazards.
In addition, a high - quality electrical system can increase the value of the container home. If you ever decide to sell the home, a well - functioning electrical system will be an attractive feature for potential buyers.
Related Products and Their Advantages
If you're interested in exploring more options for prefab steel container homes, we offer a range of related products. For instance, our Hurricane Proof Manufactured Homes are designed to withstand extreme weather conditions. These homes are built with reinforced steel structures and advanced electrical systems to ensure continuous power supply even during a hurricane.
Our Modular Prefab House Restaurant Container House is a great option for those looking to set up a restaurant. The electrical system in these container houses is designed to meet the high - power demands of commercial kitchen equipment and lighting.
The Economical Prefabricated Modular Mobile Portable Container House is perfect for those on a budget. Despite its affordability, it comes with a well - designed electrical system that provides all the necessary power for a comfortable living experience.
Contact Us for Purchase and Consultation
If you're interested in our prefab steel container homes or need more information about electrical system installations, we're here to help. Whether you're a homeowner, a developer, or a business owner, we can provide you with customized solutions to meet your specific needs. Contact us to start the conversation and explore the possibilities of owning a high - quality prefab steel container home with a reliable electrical system.
References
- National Electrical Code (NEC)
- Electrical Installation Handbook by Siemens
- Handbook of Electrical Engineering by McGraw - Hill
Send Inquiry